Train driving basics
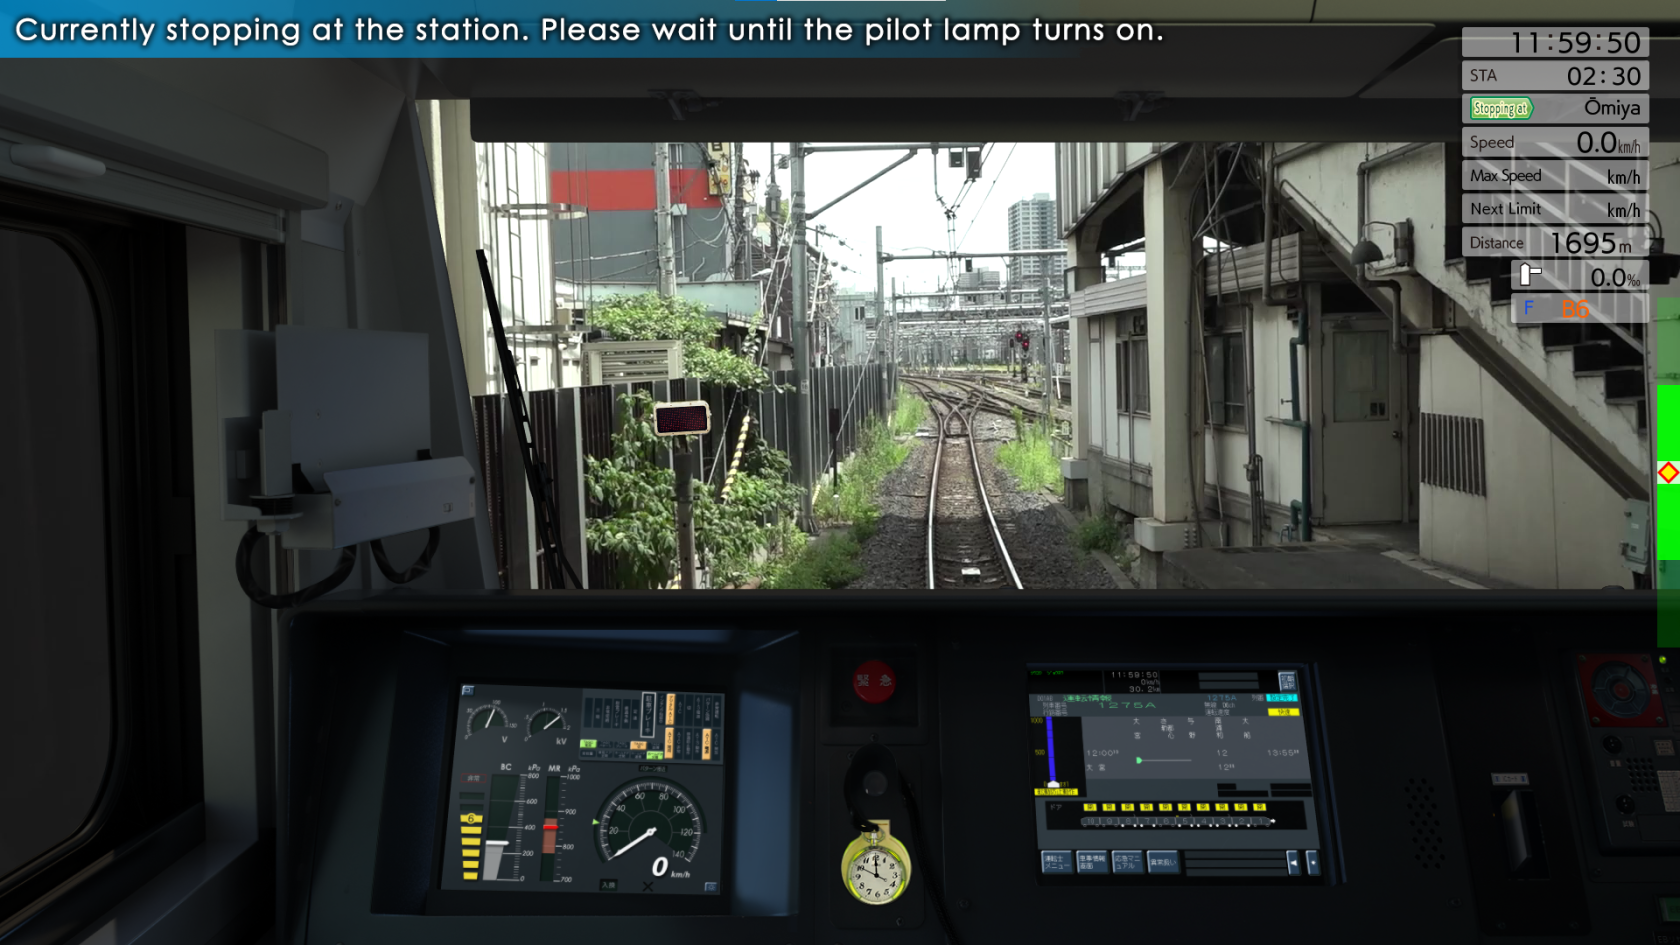
The train is driven by operating the gearshift (the easiest way is to use the mouse wheel). This allows you to accelerate (speed beginning with P), brake (speed beginning with B) or neutral (speed N). Some trains also have a level between neutral (N) and the first brake level (B1) which is "Speed Limitation" (see "Others features").
Station departure

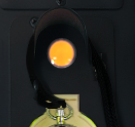
At a station stop, you can't leave until the door-closing indicator is lit. This is usually located above the driver's pocket watch.
Once lit, you can accelerate to leave the station.
Driving
(All system settings are assumed to be set to "Automatic")
When driving the train between 2 stations, the main objective is to avoid exceeding the maximum speed of the current section.
Trains using D-ATC / ATACS

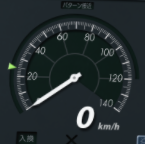
For trains using the D-ATC (Digital Automatic Train Control) or ATACS (Advanced Train Administration and Communications System) safety system, the maximum speed is represented by a green arrow on the speed dial. This applies to the Keihin-Tohoku and Yamanote lines, among others.
Note that for trains using D-ATC / ATACS, the Max Speed/Next Limit indicator is empty.

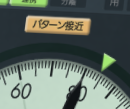
When the speed limit is changed, a bell sound is emitted. If the change involves a reduction of the limit, the maximum speed indicator will move slowly. If the indicator above the speed dial (パターン接近 / pattern approach) is lit, then slow down until it goes out.
If the maximum speed is exceeded, then the train will automatically brake more or less hard to go below the limit.
Other safety systems
For other safety systems, it is advisable to use the Max Speed/Next Limit indicator when you are not used to the operation of the various safety systems (ATS-P / ATS-Ps / ATACS). When you're a little more comfortable, you can try driving without using this indicator, using the other information available (see Realistic driving page).
If you exceed the speed limit :
- On an ATS-P section, a bell will sound and the train will brake after exceeding the limit by several km/h, in order to get back under the limit, except when approaching a stop signal. In this case, the train will come to a complete stop.
- On an ATS-Ps section, once you've exceeded the limit indicated by the ATS-Ps dial, the train will automatically brake to a stop and go into emergency braking. You'll need to move the handle to the emergency brake position before you can start again.
Note that the "Next Limit" indicator flashes faster and faster as you approach the limit change.
More information on the safety systems page.
Station arrival
The aim is to stop the train in the right position at the right time.
![]()
When you arrive at the station, the stop indicator appears on the right-hand side of the screen. It helps you stop the train in the right place.
The yellow diamond corresponds to the front of the train and appears at the top of the screen. The aim is to place this diamond in the center of the clear square in the middle of the bar.
The green zones represent the possible error margins (and are configurable in the settings). If the diamond is above the margins, then the stop will not be validated and you'll have to move forward a little more. On the other hand, if the diamond exceeds the margins, the emergency brake will be activated and you will be returned to the correct position if the "Stop Position Correction" setting is enabled. Otherwise, you'll have to manually stop the train and, if necessary, reverse.
You'll need to use your brake and the speed and remaining distance indications (if displayed) to stop your train in the right place.
Note that the Yamanote line has a different bar, as it only allows a margin of +/-35cm, whatever the setting, due to the automatic door system on the platform. In this case, the TASC system stops the train automatically. More details on the Yamanote page.
Once stationary, you should set your brake so that the BC dial (brake cylinder pressure) is at 200 kPa, at least, which generally corresponds to a level of 5 or 6. On some models (e.g. E233), an indicator flashes if the pressure is insufficient. This pressure is also automatically applied at standstill on ATACS sections. This ensures that the train doesn't roll away on its own when stationary.

